Thread | ||||||||||||||
| ||||||||||||||
| #1534 | "Our Paint" software user manual | |||||||||||||
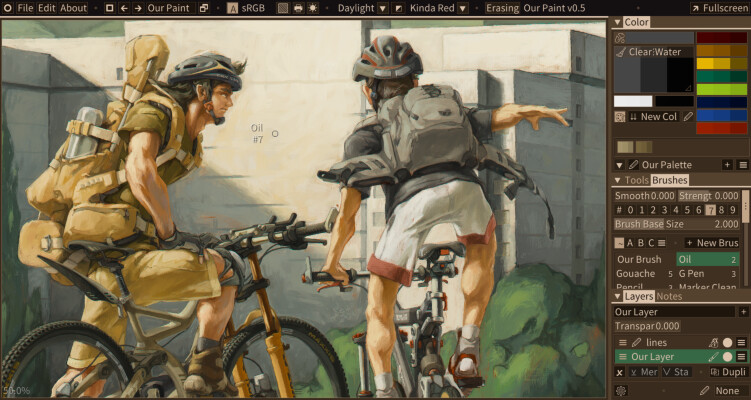
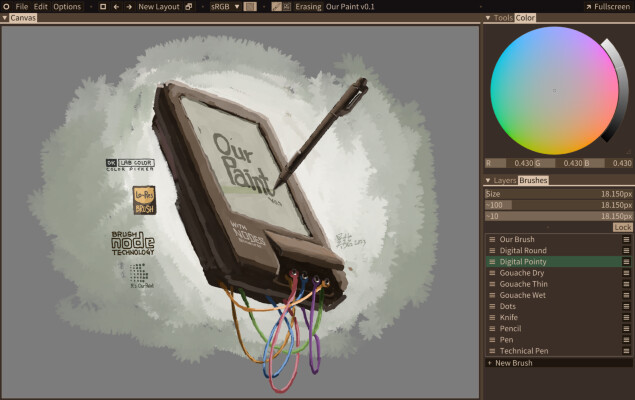
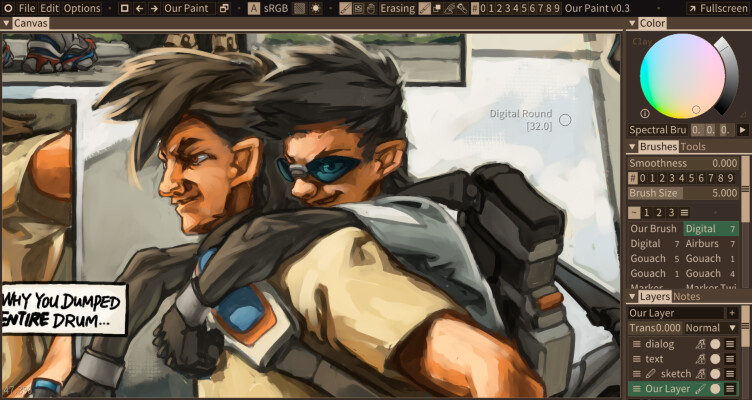
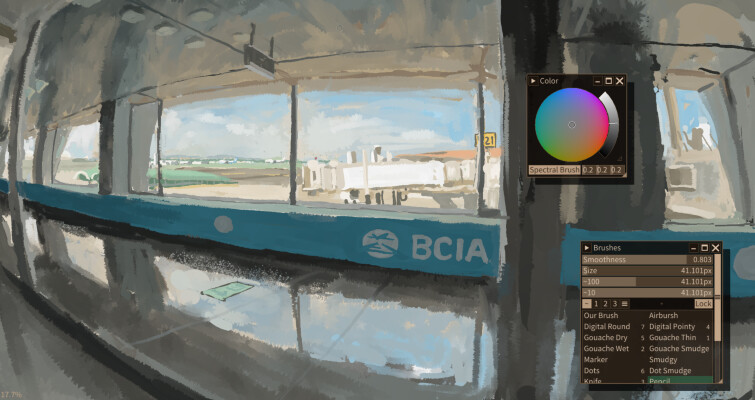
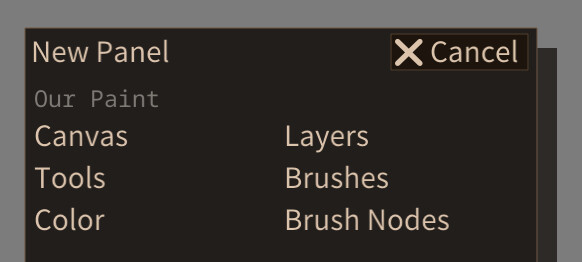
| #1535 | First time userOur Paint will save user preference in its root directory. You can move Our Paint directory to a different location and settings will be preserved. Click the "🞆" button on the top left corner to create a new panel, you could drag panels and edges to rearrange the layout. To dock a floating panel, click "🗖" button, move your mouse to the desired region, then click to drop the panel there. To tear off a docked panel, drag the panel title to the center of that region and drop it. Drag the bottom right corner to adjust the size of a panel. Click the "🡹" button at the bottom middle of the canvas could maximize the canvas to the entire window. You could use "🗗" new window button to create a new window, you can then dock some more panels and put that window on like other monitors. If you created or downloaded brush files, you can put them in the root directory of Our Paint, or in the | |||||||||||||
| #1536 | Start DrawingDrawing is done simply by hold down mouse left button and drag it across the canvas. Our Paint supports Wacom and Surface ipts pressure sensitive pen input (including tilt). If you closed the canvas panel accidentally, go practice the user interface manipulation as mentioned previously, and open a new one. Check if you actually selected "Paint" mode in the tool panel (or on the application header), also make sure you have a layer and brush selected. (If you haven't deleted them, there should already be a selected layer and brush) Drag the "◿" symbol on the color picker to adjust its size. Press and hold middle mouse button to move the canvas, press and hold Ctrl+Middle mouse to zoom, press right mouse betton or Ctrl+Right mouse to pick up color from the canvas. Other shortcuts:
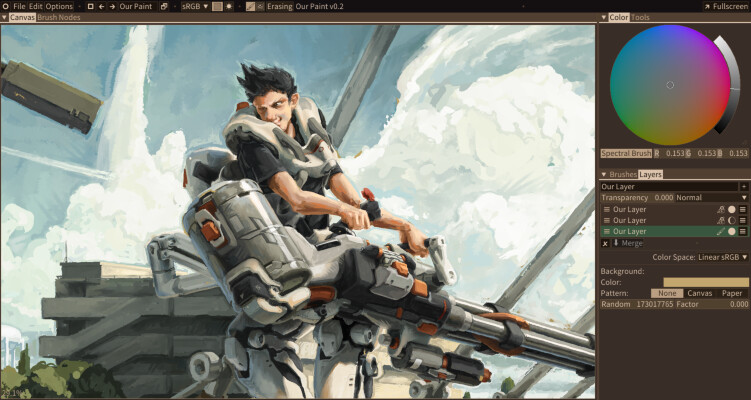
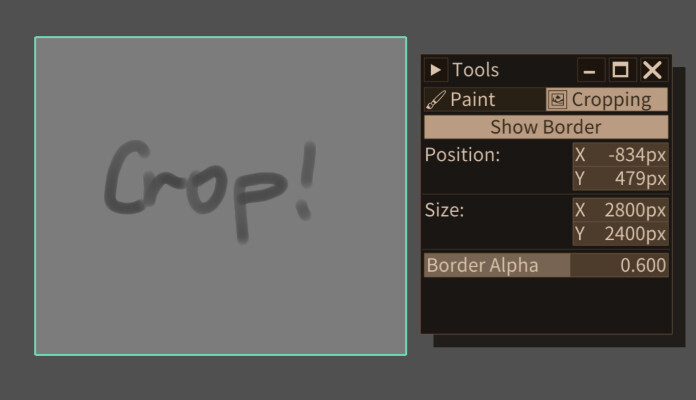
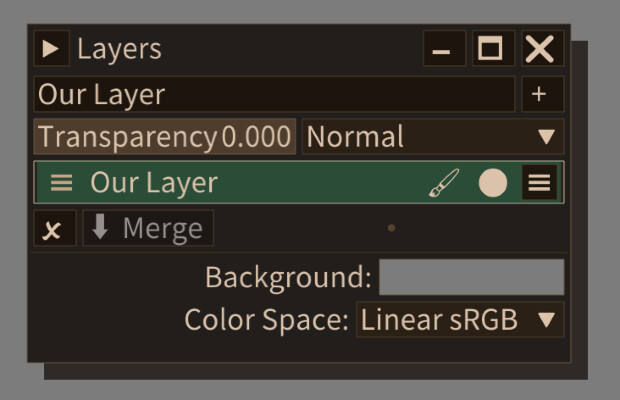
Select "Cropping" tool to adjust the final cropping of the canvas. By default cropping is disabled, click "Show Border" to enable it. You can drag and move the cropped region. Drag your mouse pointer outside the cropping region to adjust border position or size. Our Paint stores all image content completely on your video memory. Please take a moment to estimate the memory cost if you need to draw/paint a huge painting. For integrated graphics, modern day Intel integrated graphics should be able to access up to half of the entire memory of your machine. Otherwise some machines also support setting VRAM limit inside BIOS. Our Paint uses 16bit, 1024px sized texture tiles to form a complete canvas, thus a painting of around ~1000px in size would roughly take 8MB~32MB of video memory. LayersOur Paint has a simple layer system. You could add, remove laerys as well as adjusting blending mode and transparency. Layers are not movable in current version, also it only supports "Normal" and "add" blending modes. Drag the "☰" symbol to the left of the layer name to reorder layers. Click "🠳" to merge the current layer with the one below it. You can adjust the background color of the canvas. When you started painting, the background color is locked to prevent accidental changes. To adjust it again, click "Locked" button, then it's unlocked. You can set the color profile of the entire canvas in the layers panel, it's recommended to keep it in "sRGB" most of the time. Saving the canvasTo save the canvas, use File→Save. If you haven't assigned a file for it, Our Paint will open a dialog. Click the drop down menu to the right side of the Main Canvas entry, select "< Save as a new file >", then specify a file in the file dialog. Our Paint allows 3 file extensions for saving data: "udf", "ourpaint", "ourbrush". You can choose either one, but to visually identify a canvas file, it's recommended to use "ourpaint". When you are done selecting the file, click the "Save all modified" button to the lower right corner of the dialog to save stuff. Use File→Read to read any data file. Unsaved data block would have a "🌑" icon showing to the left of their names. Our Paint will always open the saving dialog when you close the program if there's any unsaved data block or unassigned ones. You could save brushes to the same file with the canvas, and if you open that file, those brushes will be loaded as well. | |||||||||||||
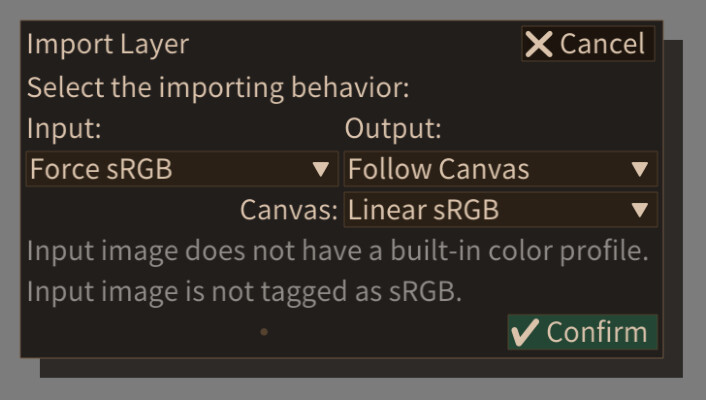
| #1537 | Importing and exporting imagesOur Paint supports importing and exporting PNG images. It does not support interlaced PNG files, if you are unable to import some PNG files, please save that file with other image editing software and make sure to disable interlacing. Import PNG as a new layer by using File→Import Layer. A dialog box would appear asking you how you would like to interpret the pixel value information in that file. Keeping the options on default should be fine most of the time, however you can also adjust them if the file is saved in a non-standard way. Using File→Export Image could export your canvas as a composited PNG file. If canvas border is enabled, the composited image would follow the dimension of the cropping. You can also specify color space when exporting the image. It's also suggested to keep it at default value if you don't want to control the color management conversion process. | |||||||||||||
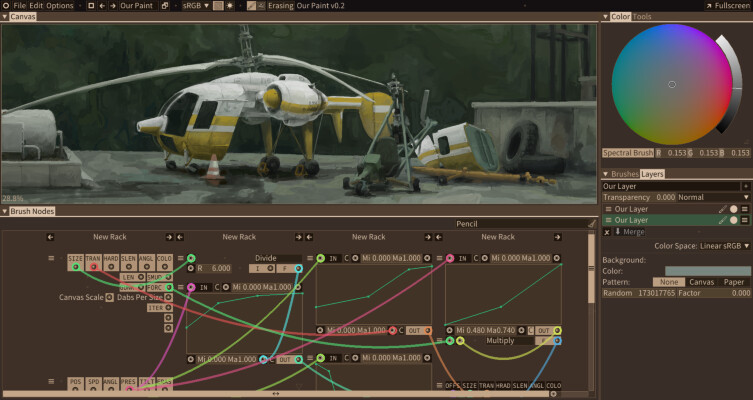
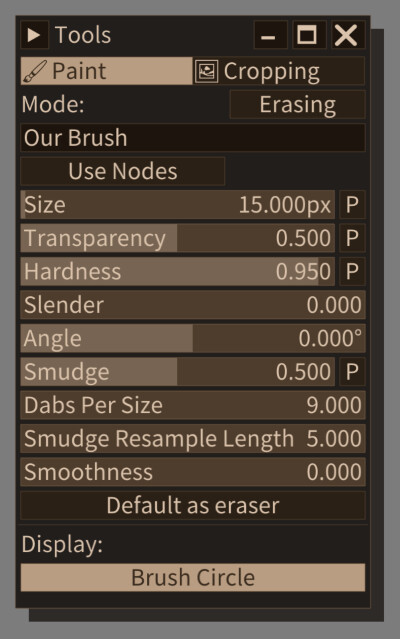
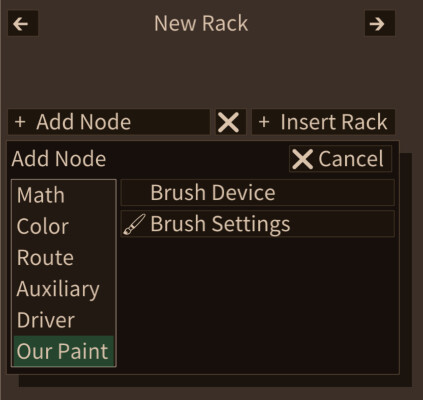
| #1538 | Adjusting brushesCurrent version of Our Paint uses round/oval shaped brush dabs. You can adjust brush properties in "Paint" mode under "Tool" panel. Enable "Default as eraser" sets the brush as eraser by default, this is for when switching from other brushes into it, you can also manually enable "Erasing" to switch any brush into an eraser. Some brush properties supports pressure input. Click the "P" button to enable pressure controlling for that specific property. Click the "☰" button to the right of brush names, you can set brush key binding down below. Set the value to anything form 0~9 and you should be able to switch to that brush with keyboard very quickly. Programmable brushesEnabling the "Use Nodes" switch to enable programmable brush. Click "Edit" will show the program editor of this brush in a new panel. You can also open a "Brush Nodes" panel manually and select the brush to be edited with the drop down menu on the top right. There's no brush program by default, you need to manually add nodes and etc. Click "Add Rack" to add a rack, then click "Add Node" to add a node into that rack. The "Brush Device" and "Brush Settings" nodes under "Our Paint" category provided all the input you need, the "Brush Output" node under "Driver" category is used to control the final output style of the brush dab. How to transform the input value into the final dab style depends on your creativity. Right click on any node would show a menu, which allows moving and deleting of the node. To move the node up and down. drag the "☰" symbol; to reorder nodes vertically, drag it with your right mouse button, or click the symbol, when it shows "🡙", drag it with left mouse button. Read about the arguments for Our Paint brush nodes. You could refer to brushes that comes with Our Paint to get a better idea on how they work. Some cautions:
Saving and sharing brushesUse File→Save As to save brushes. Use the same method as saving the canvas. There's an identifier string to the left of the file selectors, if you want Our Paint to load this brush automatically when start, then you should include After saving brushes, you can share this file directly. Put any brush file inside Our Paint root directory or any folders you configured in the resource section (see Settings chapter). | |||||||||||||
| #1539 | Color managementOur Paint has color management functionality. For Linux users, due to the limit of the operating sytem, you need to make sure that the desktop environment is not full-screen icc-corrected. Our Paint assumes that the OS output is always sRGB, even if you are on a wide-gamunt monitor (and don't worry, the monitor would always show full color range). It's recommended to always use sRGB color space for both display and canvas in Our Paint. If your monitor has close to full coverage of AdobeRGB, you can select display and canvas color space to "Clay" (This color space is fully compatible with AdobeRGB 1998). Make sure you double check what you want when exporting the image as in whether to convert it back to sRGB. There are still a lot of programs that doesn't handle PNG built-in icc profile correctly. Our Paint allows you to select color profiles when import/export files, in most cases it's recommended to use sRGB at every place. v0.5+:D65 P3 color space is now supported to use as canvas and for exporting. v0.5+:In "Display" tab of the user preference, after enabling color management, you can now add your own custom CMYK icc profiles for soft proofing. To display as soft proofing, click the printer icon on the top menu bar. Click the "🟩" button on the header to toggle stripe display for overflowing colors. When your canvas is in Clay color space, you can switch the display color space to sRGB to check if anything is overflowing. | |||||||||||||
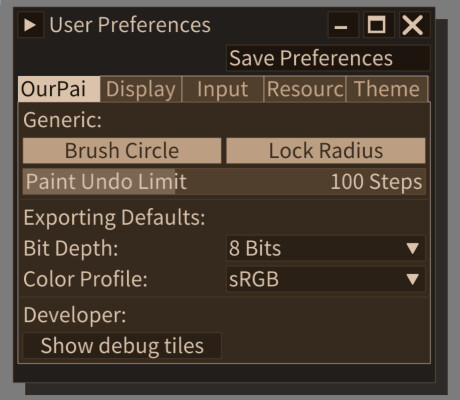
| #1540 | SettingsUse Options→Show User Preferences to open the settings panel. In "Our Paint" page you could change undo step limit, with a maximum step of 256. Undo history will be cleared after reading any data files. In "Resource" page you can add a few more directories for resource files. Our Paint will load all brushes that contains | |||||||||||||
| #1591 | Special considerations on WindowsLaGUI isn't fully featured on Windows yet, if you encountered any problem, please report at the code repository. If you feel the pen lags when you start a stroke (The stroke would wait just a little bit before starting to follow pen tip), then turn off "Allow pen as mouse input (if available)" option in Windows Pen/Ink settings. You could choose to use Windows Ink (Tablet PCs) or WinTab (Wacom styluses) in Our Paint preferences to get pressure event. Your pen input may or may not be supported just yet. | |||||||||||||
| #1811 | Launch ArgumentsProgram launch arguments are available starting with Our Paint v0.1c. It's useful for getting information that could help developing the program.
| |||||||||||||
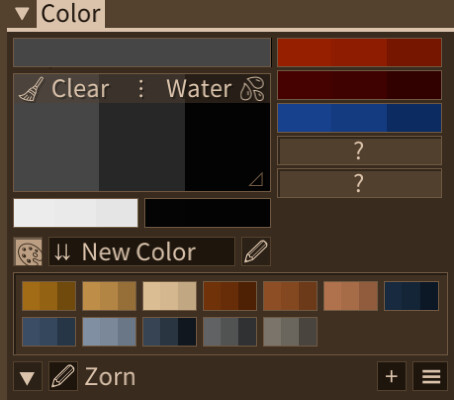
| #2495 | New features in v0.5Pigment color mixerIt's possible to use different pigments to mix different colors. After launching Our Paint, all the pigment blocks are empty (shown as "?"), clicking any of them to select a pigment, then you can click and hold on the color pad to add pigments to the palette. In the palette, click "Clear" to remove all pigments added in there. Click "Water" to add water (dilute) pigments in the palette. If you use brushes with "Depletion Speed" Property, The scale on top of the palette view will reduce while you draw, until it's completely "depleted". Press and hold the slider or the palette itself can both "resupply brush pigments" Both pigment pads and palette accept pressure-sensitive input, if you press it harder, then pigments will be mixed faster. | |||||||||||||
2022/12/22 16:56:17
2025/06/20 16:48:43 | ||||||||||||||
NewslettersEnter your email: | ||||||||||||||
